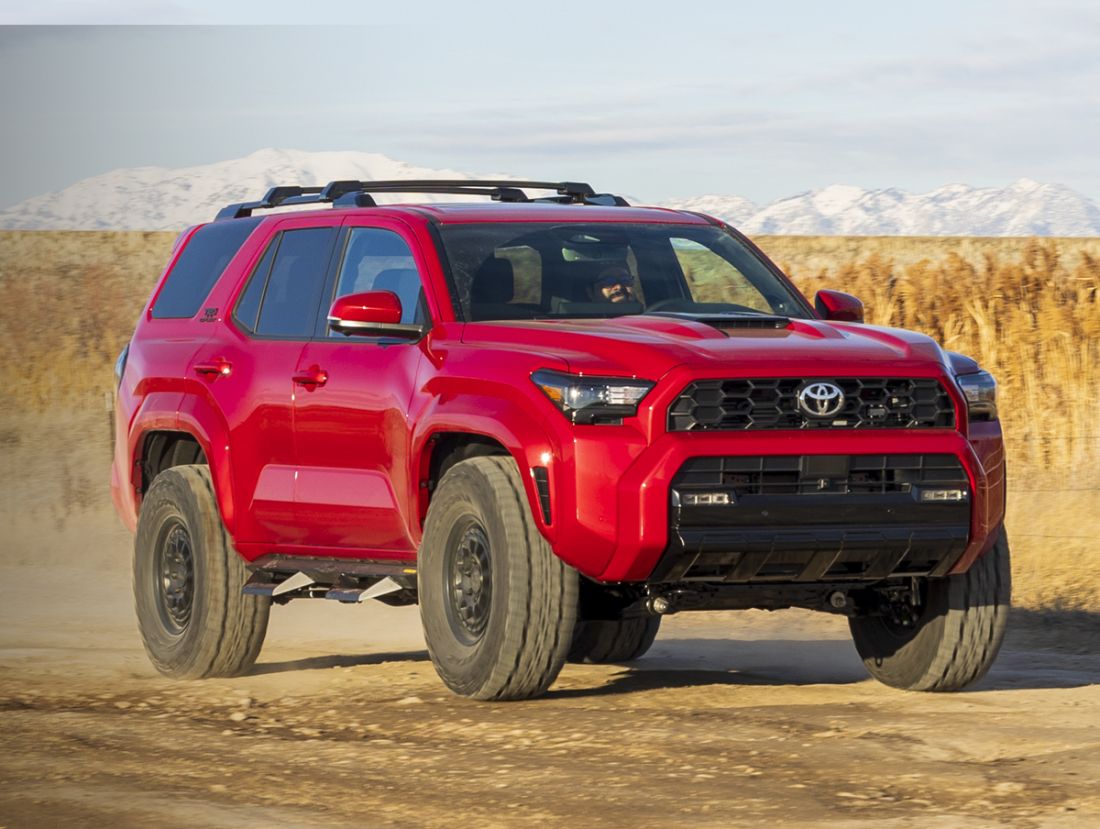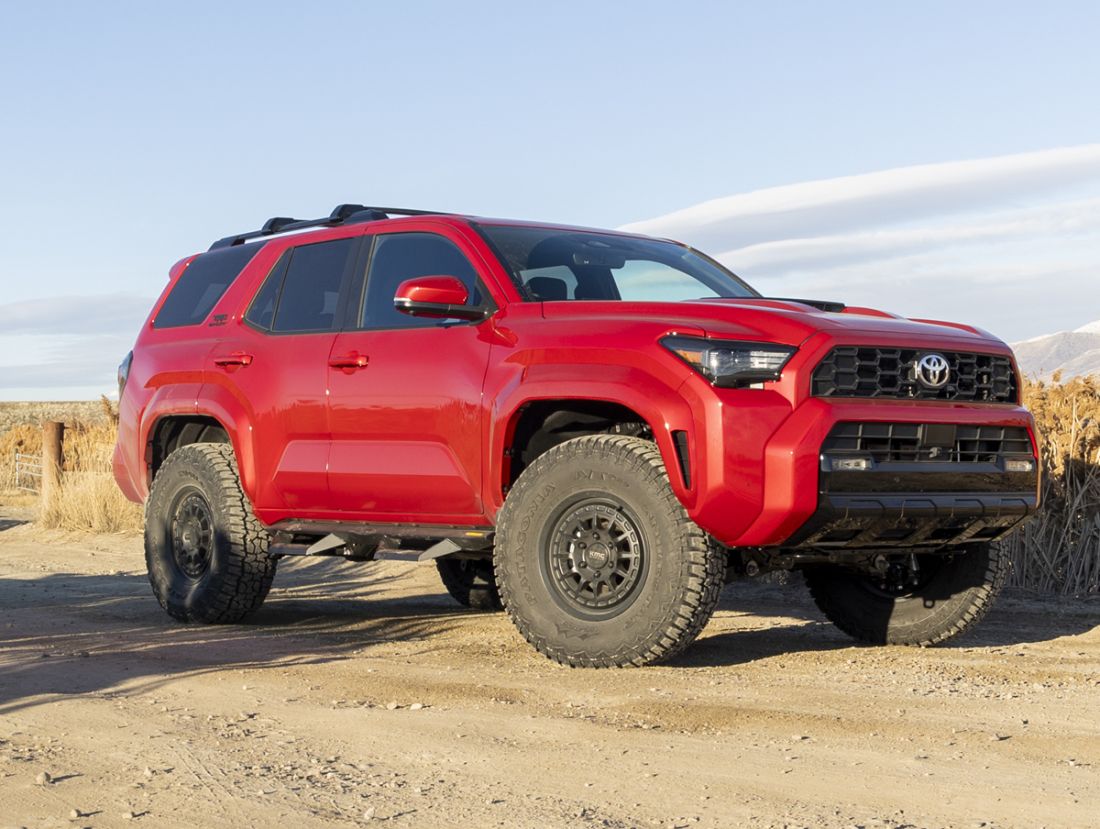
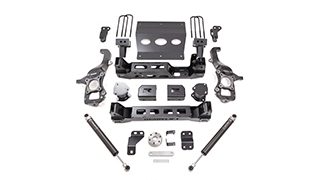


3" SST2.1 Suspension System With Forged Aluminum Upper Control Arms - 2025-2026 Toyota 4Runner / 2024-2026 Land Cruiser
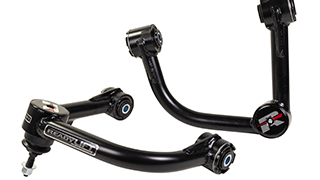
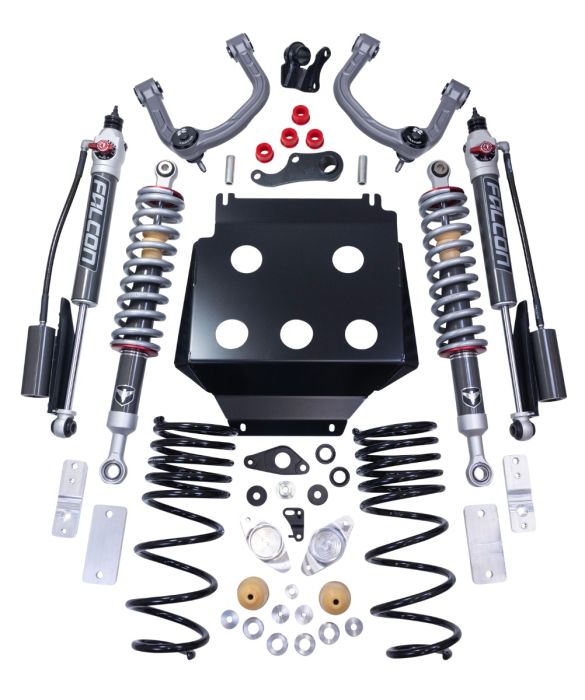
- 3" front lift for a commanding stance and larger tire fitment.- Falcon 2.1 monotube dampers balance on-road comfort with controlled off-road performance.- Forged Aluminum Upper Control Arms deliver enhanced strength and rigidity with optimized component clearance and corrected geometry.- Pro Series Heavy-Duty High-Angle Ball Joint supports greater articulation and suspension travel with factory-like ride characteristics.- Terrain Control Technology (TCT) maintenance-free pivot bushings provide quiet operation without routine lubrication.- Type III hard-anodized finish, billet aluminum O-ring dust cap, and sealed ball joint assembly help protect against corrosion, dirt, and debris.- Front skid plate protection included.- Bolt-on suspension system with no permanent modifications required.
Fitment and Installation Notes
- Clears up to 35" tires with minor trimming - more than most competitors offer- Up to 285/75R17 on an 8" wide +35 offset wheel (no trimming)- Up to 295/55R20 on an 8.5" wide +35 offset wheel (no trimming)- 315/70R17 with minor trimming- 35X12.50R17 with minor trimming- Not compatible with TRD PRO or Trailhunter models.Description
- 3" front lift for a commanding stance and larger tire fitment.- Falcon 2.1 monotube dampers balance on-road comfort with controlled off-road performance.- Forged Aluminum Upper Control Arms deliver enhanced strength and rigidity with optimized component clearance and corrected geometry.- Pro Series Heavy-Duty High-Angle Ball Joint supports greater articulation and suspension travel with factory-like ride characteristics.- Terrain Control Technology (TCT) maintenance-free pivot bushings provide quiet operation without routine lubrication.- Type III hard-anodized finish, billet aluminum O-ring dust cap, and sealed ball joint assembly help protect against corrosion, dirt, and debris.- Front skid plate protection included.- Bolt-on suspension system with no permanent modifications required.
Fitment and Installation Notes
- Clears up to 35" tires with minor trimming - more than most competitors offer- Up to 285/75R17 on an 8" wide +35 offset wheel (no trimming)- Up to 295/55R20 on an 8.5" wide +35 offset wheel (no trimming)- 315/70R17 with minor trimming- 35X12.50R17 with minor trimming- Not compatible with TRD PRO or Trailhunter models.Put more capability behind your next adventure. The ReadyLIFT 62-55346 3" SST2.1 Suspension System pairs vehicle-specific Falcon 2.1 performance struts and rear shocks with all-new Forged Aluminum Upper Control Arms for the 2025 Toyota 4Runner and 2024-2025 Toyota Land Cruiser. Enjoy a commanding stance, refined ride quality, and confident control from the highway to the trail.
Next-Generation Forged Strength
ReadyLIFT Forged Aluminum Upper Control Arms deliver enhanced strength and structural rigidity for confident performance on the road and off. Precision-engineered arm profiles optimize component clearance, while corrected geometry supports proper alignment in lifted applications.
The Pro Series Heavy-Duty High-Angle Ball Joint supports greater articulation and increased suspension travel while maintaining factory-like ride characteristics. Proprietary Terrain Control Technology (TCT) maintenance-free pivot bushings provide quiet, consistent suspension movement without routine lubrication.
A Type III hard-anodized finish provides durable surface protection. A billet aluminum O-ring dust cap and sealed ball joint assembly help keep corrosion, dirt, and debris out of critical components for dependable performance through daily driving and demanding terrain.
Falcon 2.1 Performance
Vehicle-specific Falcon 2.1 monotube dampers are tuned to balance on-road comfort with controlled off-road performance. Enhanced dynamic roll control helps maintain confident handling, while Falcon tuning keeps the ride composed across changing road and trail conditions.
Durable 6061-T6 aluminum alloy shock bodies and 3/4" induction-hardened, chrome-plated shafts help protect against impact, rock damage, and corrosion.
System Highlights
- 3" front lift for a commanding stance and larger tire fitment.
- Front skid plate protection included.
- Bolt-on suspension system with no permanent modifications required.
Fitment and Installation Notes
- Clears up to 35" tires with minor trimming - more than most competitors offer
- Up to 285/75R17 on an 8" wide +35 offset wheel (no trimming)
- Up to 295/55R20 on an 8.5" wide +35 offset wheel (no trimming)
- 315/70R17 with minor trimming
- 35X12.50R17 with minor trimming
- Not compatible with TRD PRO or Trailhunter models.
SKD PLT
FRT SWY BAR EXT
FRT BMP STP EXT
HARDENED STEEL WASHER
DIFF REAR SPACER
DIFF FRONT SPACER
3/8" LASER CUT WASHER
REAR BRAKE LINE BRACKET
DDC 1/8" LASER CUT WASHER
FRT DIFF DROP, CTR SLEEVE
FRT DIFF DROP, CTR BUSH
FRT DIFF DROP, CENTER
0.87" OD X 0.56 ID X 2.65"L CRUSH SLEEVE
1.52" OD X 0.85"ID POLYURETHANE BUSHING
FRT DIFF DROP, RH
FRT DIFF DROP, LH
FALCON BUMP STOP
RR BUMP STOP EXT
RR SWAYBAR BRACKET
FRT UCA ASSY, LH
FRT UCA ASSY, RH
Coilover, Series 2 / Type 1, Single Finished/Front, 3" Lift
RR SPRG
Smooth Body / Remote Resi, Series 3 / Type 2, Single Finished/ Rear/Left, 3" Lift
Smooth Body / Remote Resi, Series 3 / Type 2, Single Finished/ Rear/Right, 3" Lift
HARDWARE PACK
Wheel Tire Note
Stock (17x7 +60) 285/70R17 No Trim (Widest tire you can put on, Knuckle clearance)
17x8 +35 285/70R17 No Trim
17x8 +35 285/75R17 No Trim
17x8.5 +47 285/70R17 No Trim
17x8.5 +47 285/75R17 No Trim
17x8.5 +25 285/70R17 No Trim
17x9 +1 285/70R17 May require trimming. (4mm clearance)
Tire Size Comparison:
18x8 +35 285/65R18 No Trim
18x8 +35 285/70R18 No Trim
18x8.5 +47 285/65R18 No Trim
18x8.5 +47 285/70R18 No Trim
18x8.5 +25 285/65R18 No Trim
18x9 +1 285/65R18 May require trimming. (4mm clearance)
20x8.5 +35 285/65R20 No Trim
20x9 +18 285/65R20 No Trim
20x9 +1 285/65R20 May require trimming. (4mm clearance)
Tire Size Note: ReadyLIFT wheel and tire fitment recommendations are typically based on Wheel Pros wheels and Nitto tires. Due to product differences among tire manufacturers, tire specifications and dimensions including, but limited to, overall diameter, rolling diameter, tread width, aspect ratio, lug pattern, sidewall construction and inflation pressure, will vary meaningfully by tire and wheel manufacturer. Every tire and wheel combination should be test fit prior to installation. Consult your local installer to learn more about the right tire fitment for your application.
Ride Quality Note: When lifting a vehicle and installing aftermarket wheels and tires, a tire manufacturer's construction and material quality can alter vehicle ride quality. When increasing a vehicle wheel and tire size, most larger aftermarket truck and SUV tires are 10-ply (or more) E tires compared to typical OEM 6-ply C tires. This more rigid sidewall construction increases the perception of suspension stiffness often described as ride harshness. The ride, handling, traction, noise, fuel economy, and wear differences between All-Season, All-Terrain, Mud-Terrain, or Trail-Terrain type tires can be significant. Please take into account tire and wheel choice will generally have a meaningful impact on the ride & handling experience.
WARNING: This product can expose you to chemicals including Di(2-ethylhexyl)phthalate (DEHP), which is known to the State of California to cause cancer, and birth defects or other reproductive harm. For more information go to www.P65Warnings.ca.gov/product
SAEJ2492 WARNING: By installing this product, you acknowledge that the suspension of this vehicle has been modified. As a result, this vehicle may handle differently than factory-equipped vehicles. As with any vehicle, extreme care must be used to prevent loss of control or rollover during sharp turns or abrupt maneuvers. Always wear seat belts, and drive safely, recognizing that reduced speeds and specialized driving techniques may be required. Failure to drive this vehicle safely may result in serious injury or death. Do not drive this vehicle unless you are familiar with its unique handling characteristics and are confident of your ability to maintain control under all driving conditions. Some modifications (and combinations of modifications) are not recommended and may not be permitted in your state. Consult your owner's manual, the instructions accompanying this product, and state laws before undertaking these modifications. You are responsible for the legality and safety of the vehicle you modify using these components.
ADDITIONAL SERVICES & COSTS MAY BE REQUIRED
INSTALLATION ALIGNMENT NOTE
Your vehicle may require a wheel alignment following installation to ensure proper handling and tire wear.
Additional alignment costs may apply.
INSTALLATION HEADLAMP AIM NOTE
Headlamp aim and alignment must be checked and adjusted as necessary following installation to help ensure proper visibility and the safety of other drivers.
Additional headlamp adjustment costs may apply.
ADVANCED DRIVER ASSISTANCE SYSTEMS (ADAS) NOTE
If your vehicle is equipped with active or passive safety, collision monitoring, or driver assistance systems, these systems must be checked and adjusted as necessary following installation.
This includes, but is not limited to, camera-based and radar-based systems that may be affected by changes in vehicle ride height or suspension geometry.
Some vehicles may require OEM diagnostic equipment and factory-trained technicians to properly recalibrate ADAS functions.
Additional ADAS calibration costs may apply.
Have a certified mechanic do it for you!
 TIRE/WHEEL SIZING GUIDE